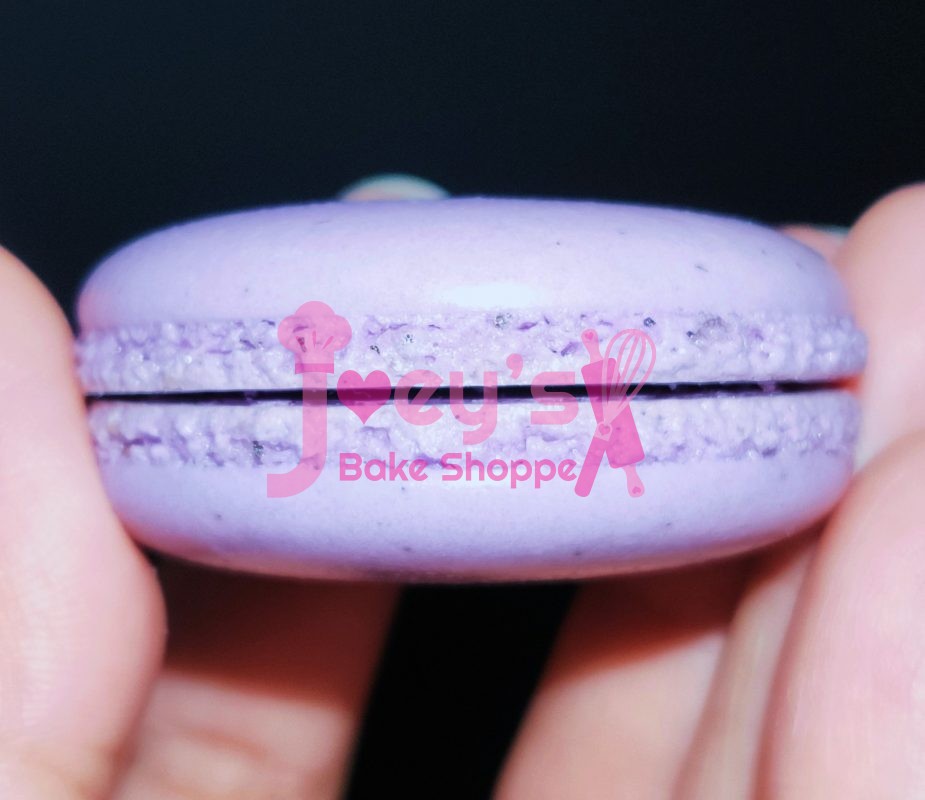
(Hand Mixer Macronage & Drying In Oven)
Makes 18 Shells
Ingredients:
A
32g Ground Almonds(if u don’t have Super Fine Ground Almonds from Phoon Huat need to blend till fine)
28g Icing Sugar(Sunflower brand no corn starch from Sheng Siong)
*Optional Earl Grey Tea Bag
(I use 1/2 teaspoon)
B
26g Egg White(room temp)
25g Caster Sugar
Gel Colors (don’t use liquid ones)
1.Sieve (A) Super Fine Ground Almond, Icing Sugar & Earl Grey Tea Powder together and set aside.
2. In another bowl, beat (B) Egg Whites until foamy then add in half of the Caster Sugar with mixer on medium speed(KitchenAid Level 6), once soft peaks form. Rotating your bowl around when mixing ensures thorough mixing of the Caster Sugar.
Pour in the rest of the Caster Sugar and beat(KitchenAid Level 7) till medium stiff peaks(the peaks on the beaters have a slight curve when u slowly lift out of the mixture but mixture won’t slide off the bowl when upside down)
Add in a drop of gel food color and continue mixing till shorter stiff peaks are formed in the beaters when u lift up of the mixture.(My post have the photos)
3. Pour in half of Sifted A into Bowl B.
Switch on hand mixer on low speed (KitchenAid Level 3) to incorporate the dry ingredients.
Lower to slowest speed(KitchenAid Level 1) and add in the remaining.
During this time, pls ensure mixing slowly around the bowl. I mix around 10 times then stop to check consistency. Continue to mix on low speed for a few times if still lumpy then check again.
The batter should be shiny, not lumpy but yet not watery. Batter is ready when you use a spatula to slowly drop the mixture into 3 ribbon folds without breaking and falls back into mixture ard 20 secs.
Don’t need to lift your spatula too high up.
If you are unsure or your mixer speed is too fast even at lowest speed, use a spatula to hand fold instead.
Folding is not anyhow mix or anyhow press, Google to see correct method. You won’t want to deflate your mixture.
4. Add batter into piping bag with round tip(0.5-1cm). Then pipe small circles on baking paper, you can print out macaron stencil and place below your baking paper, pipe at 90 degrees from the centre, stop pressing when about to reach the border of the circle.
Even if your piping skill is not good, just bang the baking pan onto counter top u will get smooth surface and round circles. If u see bubbles, use a toothpick to poke.
5. Dry macarons in a preheated oven using Fan Mode @ 90 degrees for 3-4 mins. Increase temperature to 120 degrees still on Fan Mode to bake for 15 mins. Leave in switch off oven for another 2 mins with oven door ajar.
*Note that these temperatures I tried for my Rowenta Oven.
For Unox I dry in preheated oven @ 110 degrees for 3 mins door slightly ajar, increased to 130 degrees to bake for another 19-20 mins when using a silicone mat. Leave in switch off oven for another 2 mins with oven door ajar.
For baking paper or Teflon sheet, baking time will be shorter.
***If your oven temperature is not stable or don’t have fan mode, dry under a fan for 30 mins. U can see the shells are matte and when u touch is not sticky. Some ppl use hair dryer to dry on humid/rainy days.
6. You can take out one macaron to see if its done, if still stick on the paper, leave in oven to bake for another few mins. Leave to cool den peel off from baking paper.
Store in airtight container @ room temperature if doing filling the next day or freeze if not intending to fill them with frosting soon.

